September Sewing

I’ve never quite got in the swing of doing a monthly round up of sewing projects (some months there aren’t really many!) but I have a few things to share and it just so happens to be the end of the month, so here goes!

First up is this pencil roll, which I made for a 7th birthday party my youngest was going to. A very nice simple make – apart from all those pencil slots, which seemed to take an age. I took my measurements from here but added elastic and a button instead of the ribbon tie.

IMG_8518.JPG

IMG_8519.JPG

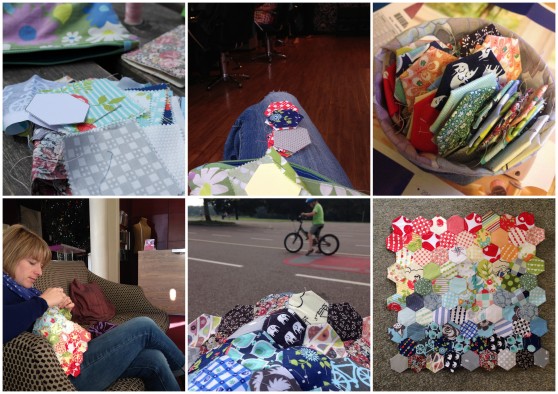
My other finish is the result of a hand sewing project which I started last summer. It started off a as a quick grab of random scraps before heading off to a festival last August, then accompanied me on many trips away in various states of finished-ness all year.

Sept 14

As the hexie fabric was a bit of a random selection I decided to make them in to a rainbow so create a more striking look.

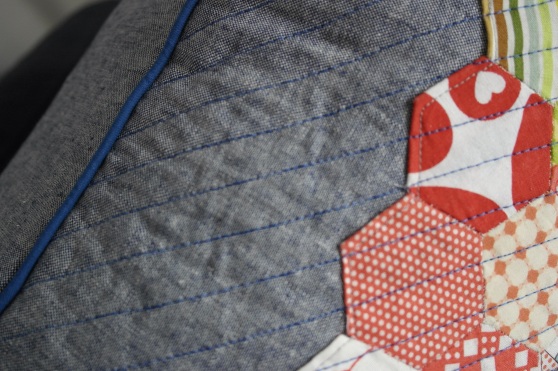
I finally sewed on the last row of hexies this summer and made it into a cushion. I used some Essex linen which I bought from America (ironically!) ages ago. I used some to border my coffee table quilt.  I also managed to do my best concealed zip insertion yet – can you see it?

unnamed (1)

I quilted all over of it with dark blue Aurifil thread – not sure if that was the right thing to do but at least it will keep my hexagon stitches from undoing!  I opted for piping round the edge, which I prefer to a quilt-type bound edge. I opted again for navy blue, which really frames the rainbow of the hexies.  I really love this bright addition to our muted living room (although its getting less and less muted the more I sew!) it’s a lovely bit squishy size and full of the memories of all the places spent sewing it.

Oh yes…pictures!

IMG_8532.JPGIMG_8535.JPG

A Very Special Quilt

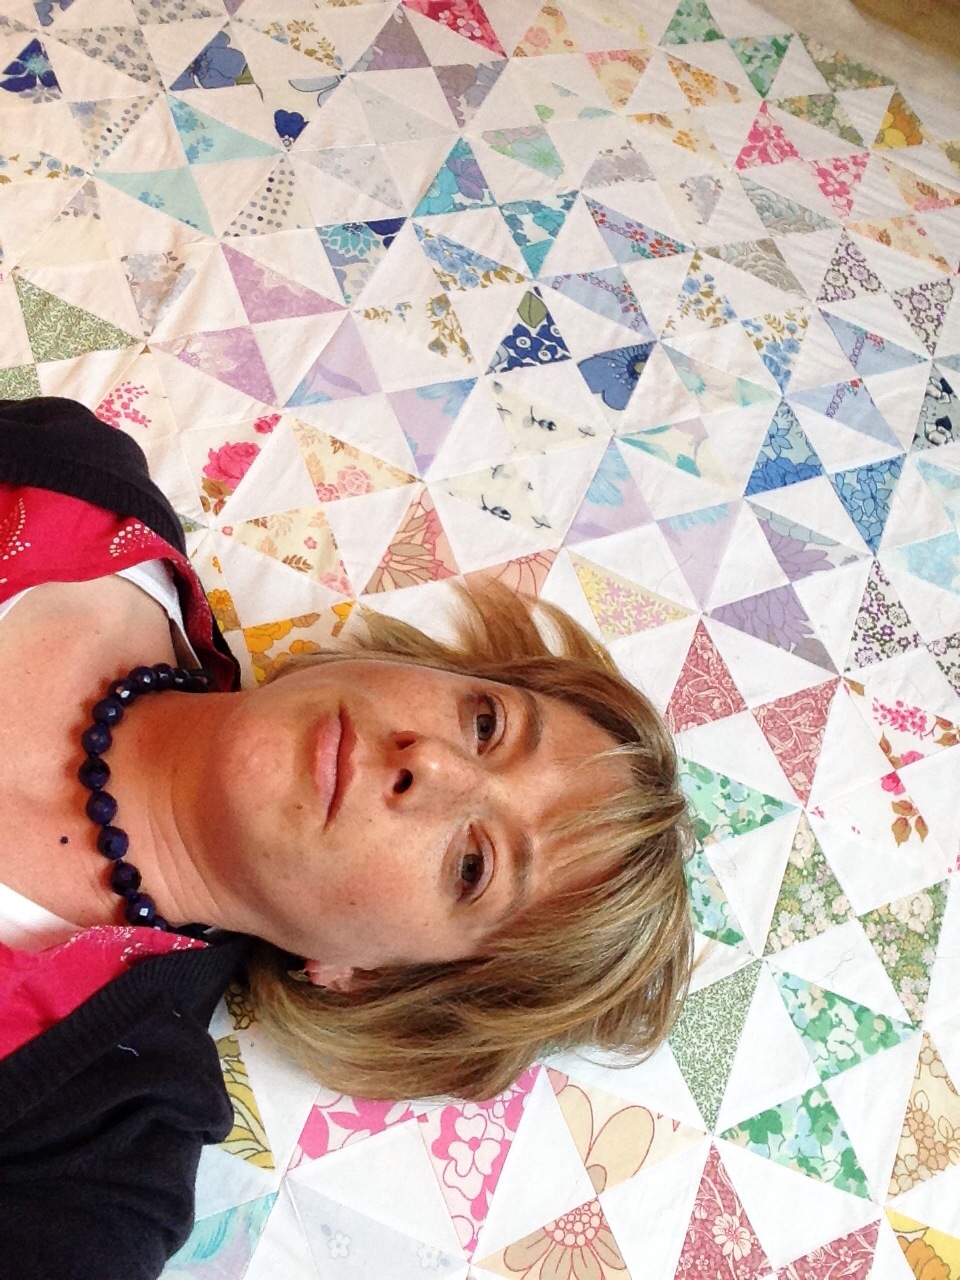
I started this quilt in earnest back in March. In fact the idea and initial cutting spree (until I got bored) was at Christmas last year. So it’s been almost a year-long project, with a the goal of being my Mum’s 70th birthday present.

I wanted to make something with the vintage sheet fat quarters I got through a swap and I knew that some of these prints would be wonderfully nostalgic to my mum.

I settled on the hourglass block after seeing Rita’s hourglass quilt and tutorial.
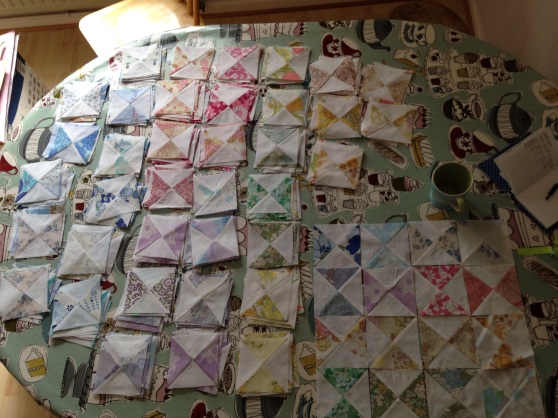
This is a double quilt, so there were a lot to make – 200 and something! (I guess I could have made them bigger!) I found a very handy labour saving half square triangle ruler on Amazon, which did help a lot.

IMG_6908.JPG

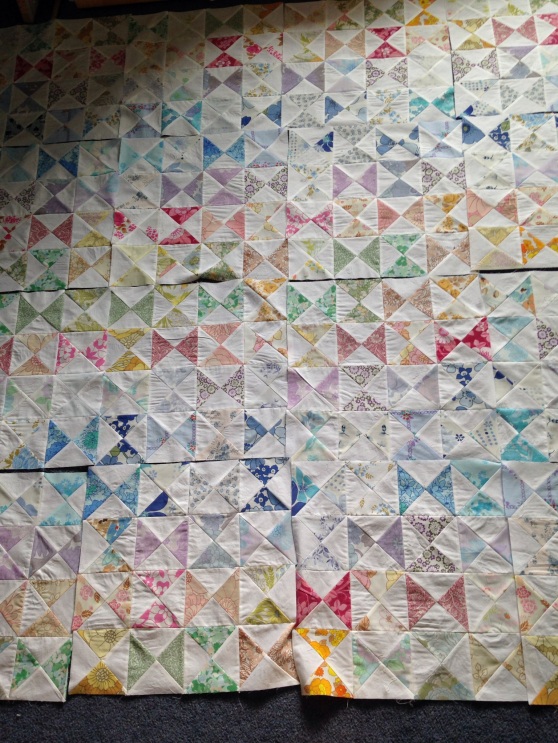
and then to start sewing them all together. There were even some perfect points!

IMG_6922.JPG


Then I sewed them into blocks of 12 in a rainbow-ish colour sequence


IMG_6934.JPG

There was some basting agony (isn’t there always?!)

IMG_6977.JPG

After our holiday to France and my sewing machine had made a trip back to the mothership for some attention, it was time to quilt!
I chose to do my favourite orange peel quilting. The curvy lines really helped break up the geometric look of the blocks and create these lovely flowers.

IMG_8373

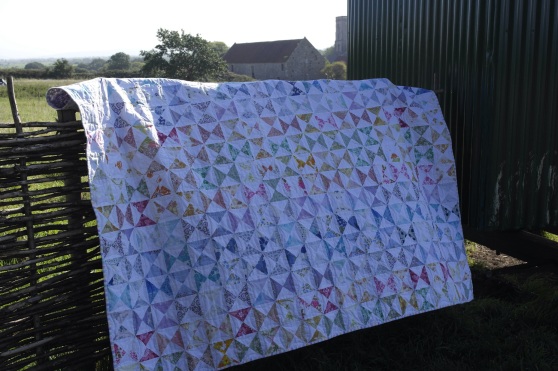
And then with the addition of some lovely vintage stripy binding (which you can buy here!) it was finished (yes the backing fabric is a very funky vintage sheet!)

IMG_8376

My husband and I had a lovely couple of days in a Shepherds Hut in Somerset while the kids were my mum’s. This was the perfect chance to hand stitch on the binding in the cosy hut with the woodburner and enjoying the last evenings of summer. It was also perfect for photographs.

IMG_8378

IMG_8384

Today was her birthday and we presented her quilt, she was really thrilled  with it and says she can’t wait to put in on her bed!

SAMSUNG CSC

I feel a bit sad now it’s gone!

Summer’s End

We’ve had a very busy but very fun summer. The last 6 weeks have gone in a flash, which is rather sad really. Here we are on the last day of our holiday in France.

IMG_7951.JPG
Our eldest starts high school today, it feels like a huge step towards teenage-hood. She requested a new pencil case earlier this week and rather than buy some plastic tat I asked if she wanted me to make one.

We decided on a boxy pouch with lots of space for a calculator and geometry set (I had to look up what that was because i couldn’t remember!). She chose some of this Road 51 bundle that I bought recently

IMG_8186.JPG
I decided to go the extra mile and make some quilt as you go panels for the body of the pouch. There is a great tutorial on QAYG here

IMG_8266.JPG
The boxy pouch was a surprisingly easy make. I used the tutorial from pink stitches blog.
A very pleasing make:

IMG_8270.JPG
And a happy excited daughter

IMG_8281.JPG